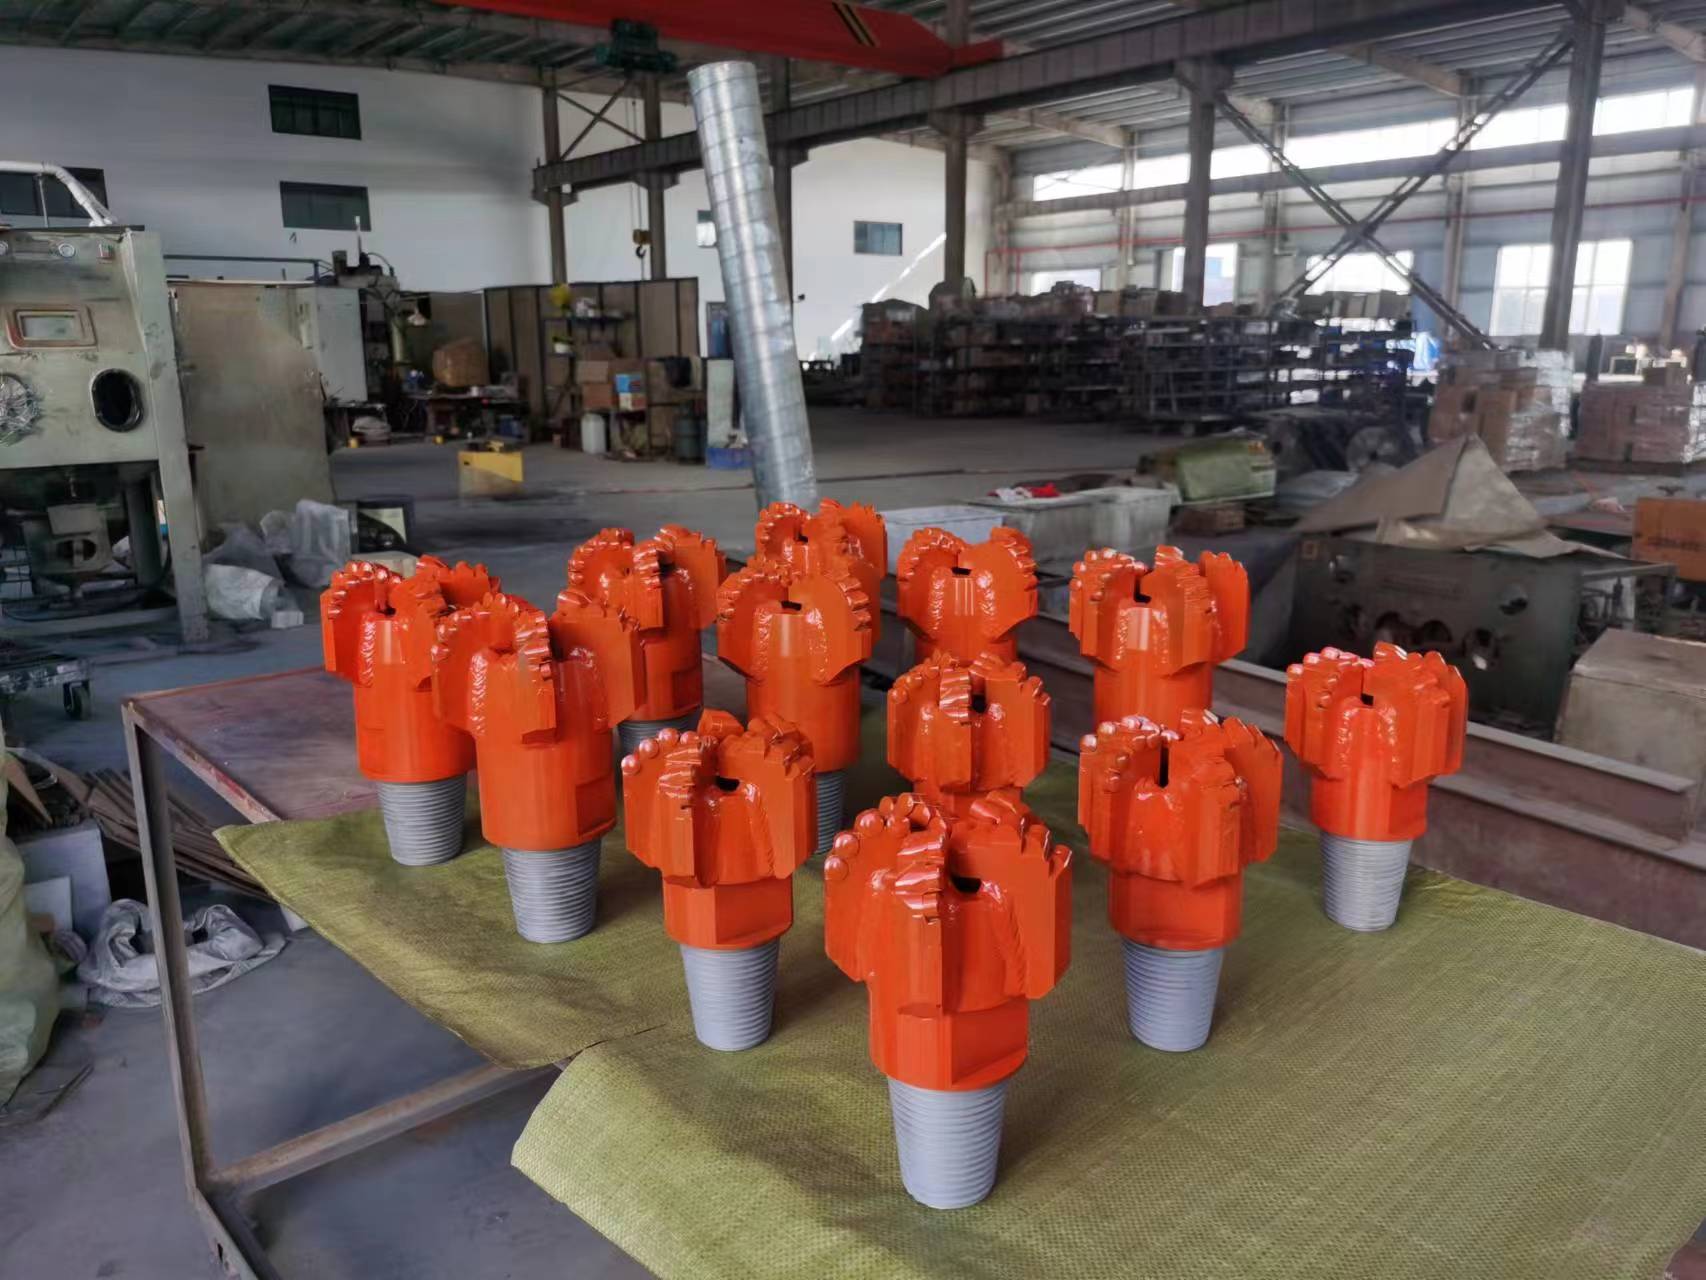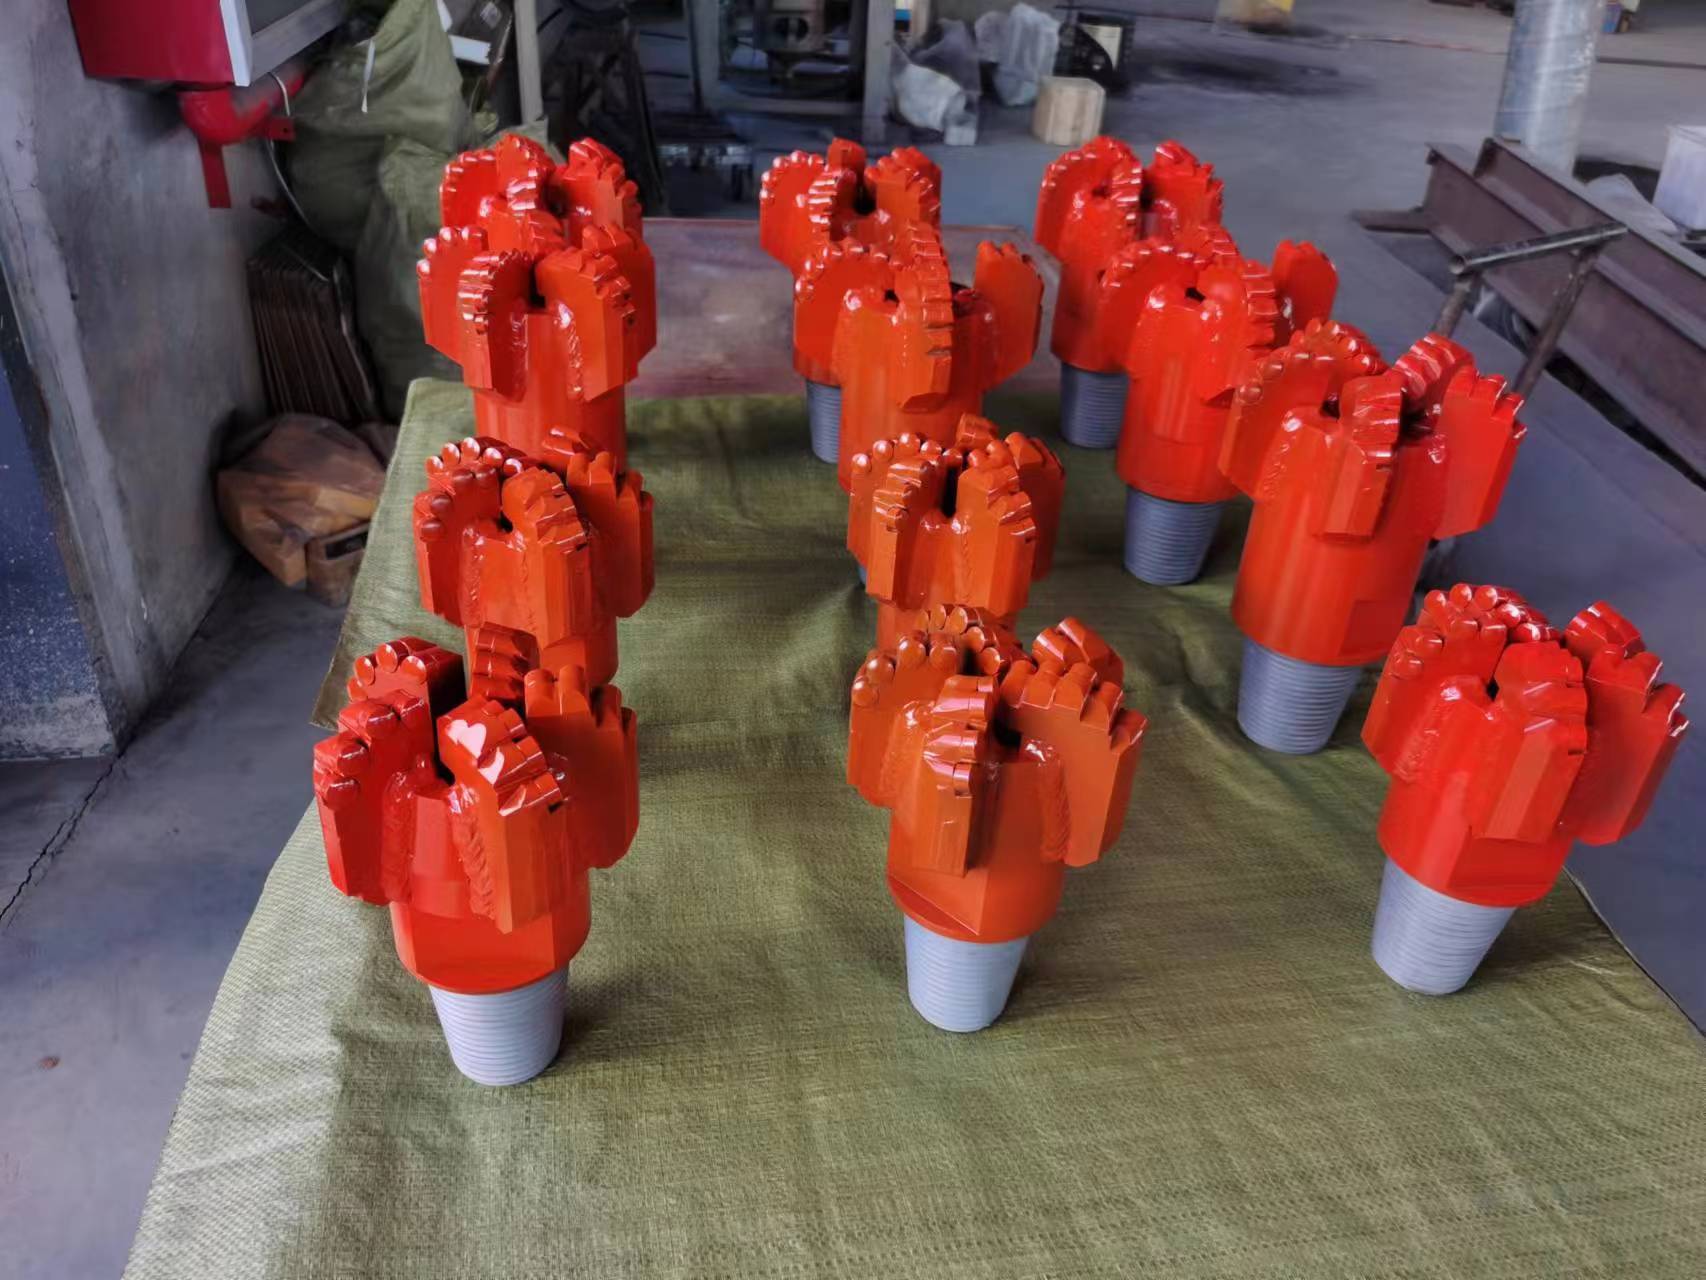
 case-CBT Rock PDC Bit Manufacturer
Every driller knows that the right drill bit directly impacts daily drilling footage and monthly cost savings. Yet in practice, problems keep popping up: a bit chosen based on experience may break within hours of being run; opting for a cheaper bit to cut costs leads to frequent trips, which ends up costing more; and when facing an uncharted formation, you’re left staring at the bit list, confused—clearly following “established rules,” so why do you keep hitting snags?
In fact, 90% of drill bit selection issues aren’t down to “bad luck,” but a failure to grasp three core factors: formation characteristics, cost, and data. Today, we’ll break down the 3 major pain points drillers often face, with practical, actionable solutions for each. Read on and apply them directly to avoid detours and cut costs.
I. Pain Point 1: Unexpected Bit Failure with Unpredictable Lifespan?
Who hasn’t dealt with this frustration: you run a new bit downhole, hoping for good footage, only to see drilling pressure drop suddenly and torque fluctuate wildly within half an hour—no doubt, the bit is faulty. When you pull it out, you find either the PDC bit’s cutters have chipped or the roller cone bit’s teeth are missing. Not only is the bit ruined, but the tripping process alone takes 3-4 hours, derailing the entire day’s progress.
This “unexpected failure” may seem like “bad luck hitting a tough spot,” but it’s actually rooted in inadequate formation pre-assessment. To avoid this, focus on two key pre-assessment steps:
First, conduct a “micro-formation survey” before drilling—don’t go blind once the bit is downhole. Often, we rely on formation data from adjacent areas, but formations can vary even between wells in the same block. For example, a section that looks like sandstone might hide scattered gravel or small hidden fractures beneath. In such cases, drill a small-diameter pilot hole 50-100 meters deep before full-scale drilling to map the actual formation: check for gravel, fracture density, and sudden changes in formation hardness. With this info, you can “target-proof” your bit selection—skip brittle standard PDC bits if gravel is present, and choose fatigue-resistant roller cone bits for fractured formations, reducing failure risks at the source.
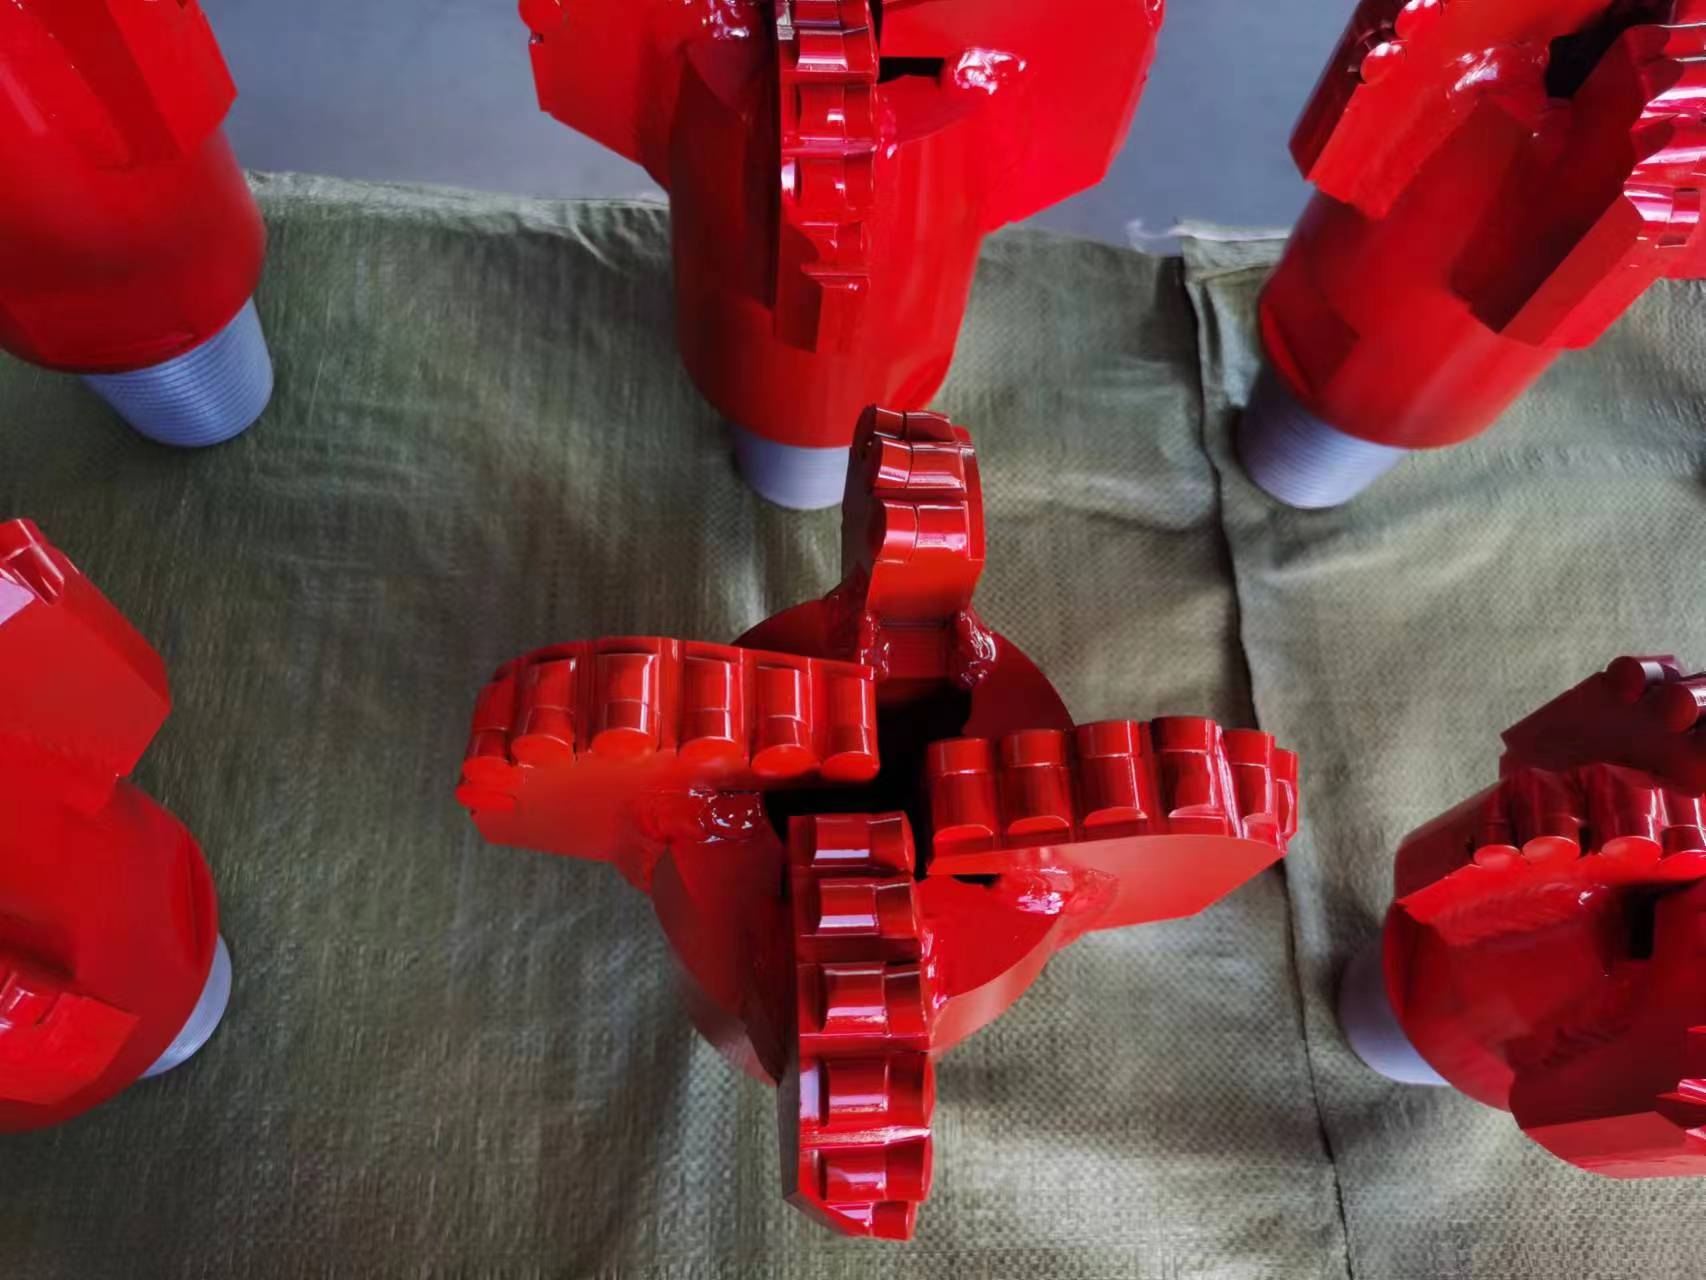
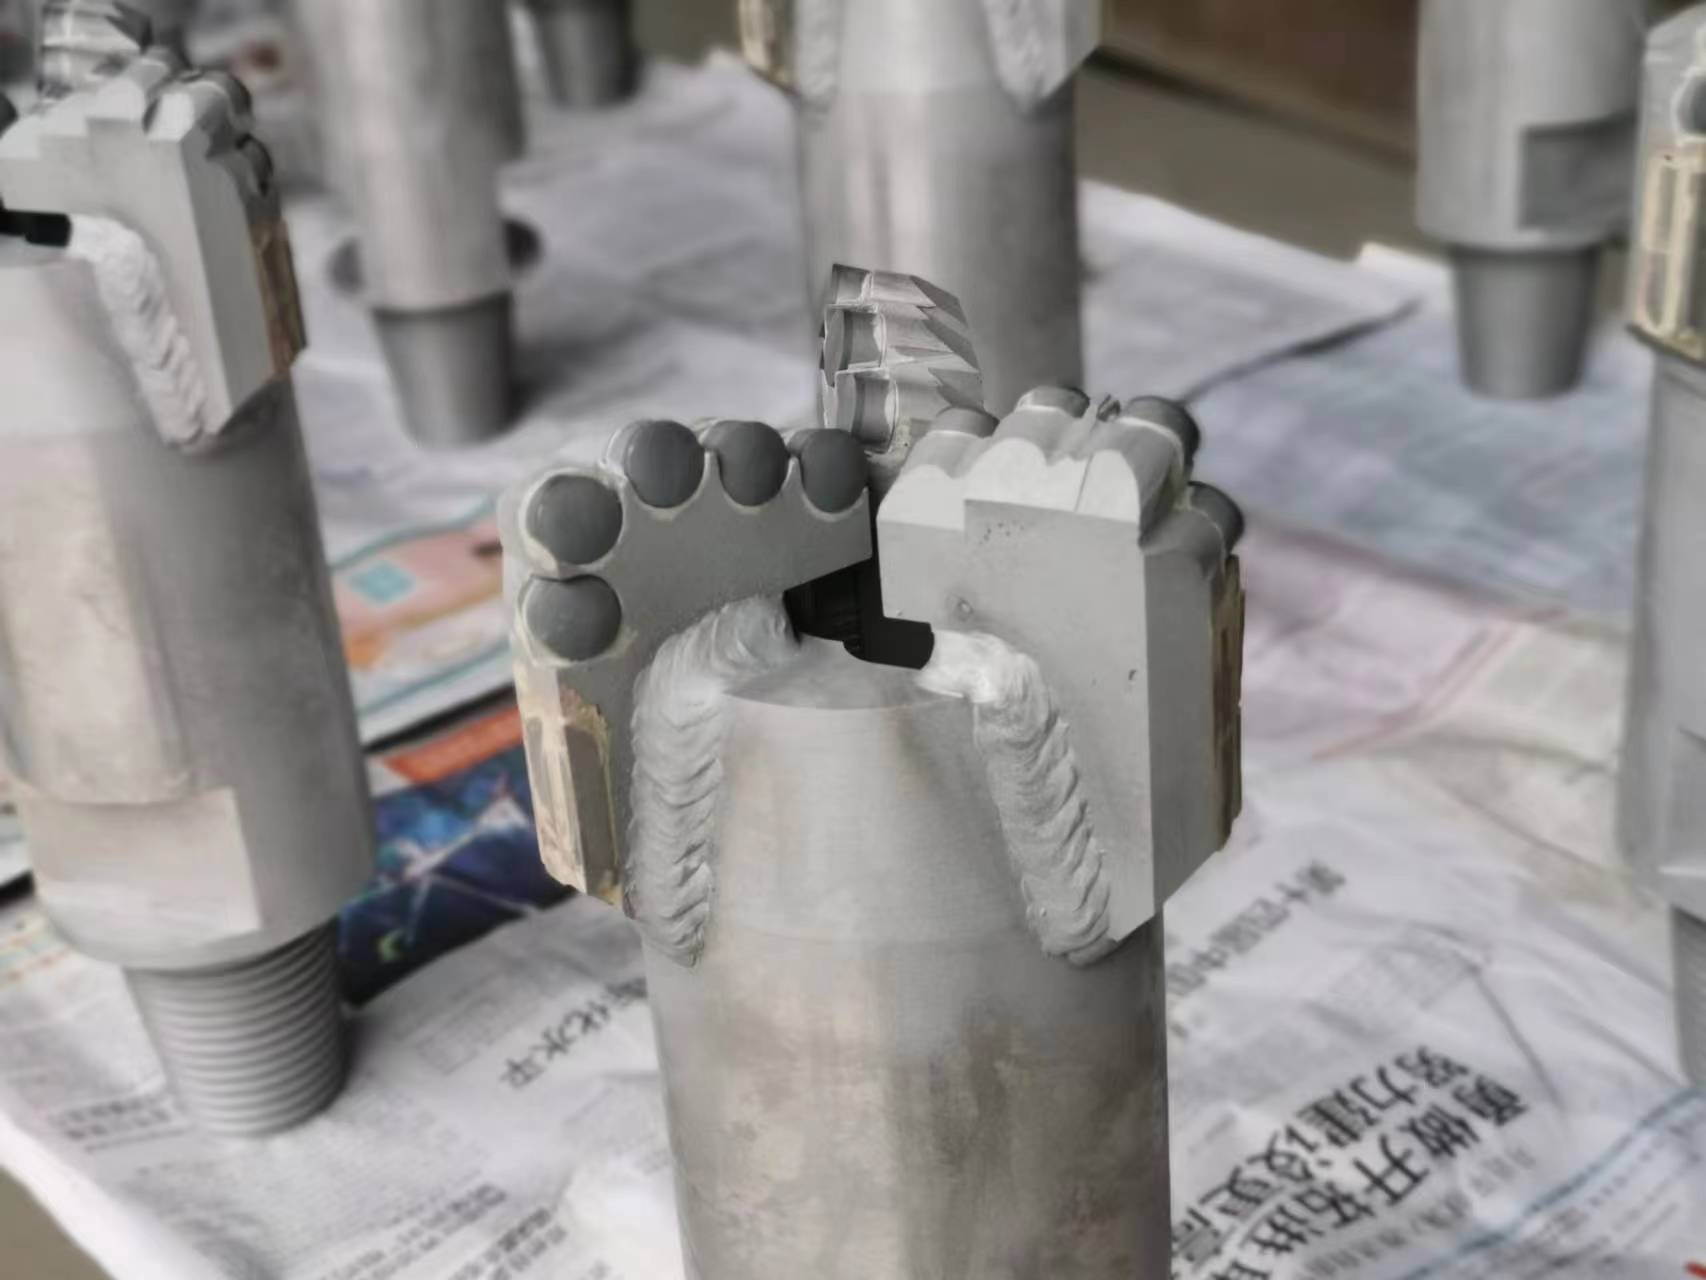
Second, add an “impact-resistant safeguard” when selecting bits, giving them an extra layer of protection. Today’s bit technology is well-developed, with specialized models for complex formations: impact-resistant PDC bits, for instance, have a reinforced matrix around the cutters, preventing chipping even when hitting small gravel; roller cone bits also feature “tooth-loss prevention designs,” with stronger tooth-cone connections to reduce tooth loss under high torque. Don’t dismiss these bits as “slightly more expensive”—compared to the losses from bit failure and downtime, the extra cost is negligible.
II. Pain Point 2: Struggling to Balance Performance and Cost?
“Afraid of overspending on expensive bits, but worried cheap ones won’t last”—this is the dilemma many drilling teams face when choosing bits. Some opt for “cheap bits to test, then replace if they fail,” but using low-cost roller cone bits in hard formations means replacing them after just 200 meters, with two trips adding labor costs. In the end, this costs more than choosing a high-quality diamond bit upfront.
The key to bit selection isn’t “how much one bit costs,” but calculating the cost per meter drilled—i.e., how much footage a bit delivers and the average cost per meter. Here’s a simple formula:Cost per Meter = (Bit Unit Price + Tripping Labor Costs) ÷ Total Footage DrilledPlug in the numbers, and the right bit becomes clear.
Take a real example: drilling in hard limestone formations, you have two options. Option A: a diamond bit costing $1,500, which (per adjacent well data) can drill 1,000 meters without tripping. Option B: a $450 roller cone bit, which maxes out at 200 meters and requires two trips (each costing ~$300 in labor). Calculations show:
- Cost per meter for A: $1,500 ÷ 1,000 = $1.5
- Cost per meter for B: ($450 + $300×2) ÷ 200 = $3.75
Clearly, the more expensive Option A is cheaper in the long run and avoids downtime.
Thus, the core of bit selection is “matching bits to formations”:
- Use economic roller cone bits (steel-tooth) for soft formations (e.g., clay, unconsolidated sandstone)—they’re efficient at crushing formations and low-cost.
- Choose diamond compact bits for hard formations (granite, limestone)—higher upfront cost, but longer lifespan and more footage, lowering cost per meter.
- Opt for PDC bits for interbedded formations (alternating soft/hard layers)—they balance cutting efficiency and impact resistance.
Don’t blindly chase low prices or overspend on premium bits. Let “cost per meter” guide your choice—that’s true cost-effectiveness.
III. Pain Point 3: Relying Solely on Experience?
Veteran drillers’ experience is invaluable, but it can “fail” in uncharted areas. Last year, a team drilled in a new block and chose a standard PDC bit based on “sandstone formation” data from a nearby area. Only after running it did they discover the sandstone contained high quartz content, making it 3 hardness grades harder than expected. The bit wore flat quickly, and 3 bits were wasted before finding the right one—costly and time-consuming.
The root cause? Experience wasn’t translated into data. For more reliable selection, build a “Formation-Bit Matching Data Card” for your team, logging key drilling info each time. This becomes your “selection handbook,” boosting accuracy by 80%.
The card doesn’t need to be complex—focus on 4 core fields:
| Formation Type | Recommended Bit Type | Matching Drilling Parameters (Weight on Bit/RPM) | Key Tips to Avoid Issues |
|---|---|---|---|
| Soft Clay/Unconsolidated Sand | Steel-Tooth Roller Cone Bit | Low WOB (10-15kN), Medium RPM | Regular cleaning to prevent bit balling |
| Hard Limestone/Granite | Diamond Compact Bit | Medium WOB (20-25kN), High RPM | Pre-hole cleaning to avoid cuttings jamming |
| Interbedded (Soft/Hard + Gravel) | Impact-Resistant PDC Bit | Medium WOB (15-20kN), Low RPM | Choose gauge-protected models to prevent uneven wear |
| Fractured Formations | Inserted Roller Cone Bit | Low WOB (8-12kN), Medium RPM | Add stabilizers to reduce bit wobble |
After each drilling job, update the card with actual formation conditions, bit performance, and issues encountered. For completely new formations, try this trick: run a small-diameter test bit for 100 meters to verify hardness and composition, then select the formal bit based on results. It’s low-cost, low-risk, and far better than “guessing.”
Final Thoughts
Bit selection isn’t about “luck”—it’s about “understanding the formation first, calculating costs clearly, and using data to guide decisions.” Avoid the 3 pitfalls of “unexpected failure, cost imbalance, and over-reliance on experience,” and you’ll boost drilling efficiency by at least 20% while cutting costs.
Have you faced frustrating bit issues lately? Is your bit getting balled up in soft formations, or wearing out too fast in hard ones? Share your formation type in the comments—I’ll help you with selection tips! If you found this useful, pass it to your team members—let’s all avoid detours in bit selection next time.